Today has been a very productive day! This morning we were able to help out and clean our ward building. Not sure how much the kids helped, but Brian and I were able to get some cleaning done. When we got home the boys raked the dogs...um pooh and then I went and shoveled it into the trash. There were loads of laundry, dish washer unloaded and reloaded, bathroom cleaned, and boys room cleaned. After all the work it was time for some FUN! The weather was just about WONDERFUL today so the boys rode their bikes most of the morning and into early afternoon, Ashlyn "rode" her bike too, e.i pushing it because she WILL NOT pedal! While they rode I worked on a craft project and Brian worked on the car. It was very nice to feel accomplished with all that got done today. Tomorrow we can defiantly rest from all our labors!
Here is what I made today: a bleach silhouette tee. Last week I was invited to a craft night but could not go as I never know when Brian will be working. I thought he would have worked that night, but then he ended up not. It was already past the time for me to leave when we realized he would not have to work...BUMMER. So I have been wanting to make these tees up for awhile and today fit the bill. It helped that I bought my supplies I needed yesterday too! :)
What you need: a t-shirt I got mine from Dollar Tree! I bought three one for each kid so spent $3+ tax!!!

You will need a silhouette of some kind. I opted to make some Halloween themed tees. Ashlyn wanted a witch and a moon. I found this witch doing a Halloween Silhouette search. Make sure you turn your design the way you want it. I wanted the witch to face right not left, so I flipped the paper over and traced on that side, and then traced the picture onto my contact paper. Also the more angles you have the hard it will be to cut out. This one was tricky.

Then you will need contact paper or freezer paper. I choose contact paper, because one it sticks to my tee and I also needed it to finish up my Thanksgiving place mats from LAST YEAR the kids made!!! I got mine at Hobby Lobby, don't forget to use a COUPON!!! ;)

I meant to take a picture before I started to cut, but forgot, here is the witch and moon, I free-handed the moon in the background. And noticed she is facing right now, not left.

Peel your contact paper off, THAT TOOK F-O-R-E-V-E-R I think it was the longest part of the project, trying to peel the pieces apart! Stick the contact paper onto your tee where you want the silhouette. Place some cardboard in between the shirt so the bleach will not bleed through.

I used bleach also from the Dollar Tree $1+ tax and a spray bottle another $1+ tax it was a 70% bleach to 30% water. With the witch and the moon I went a little over board with spraying. First try so I was not sure how much I needed. I also sprayed really close. I barely made a dent into my bleach solution in the water bottle and it was one of those small hair water bottles. You will not use very much.
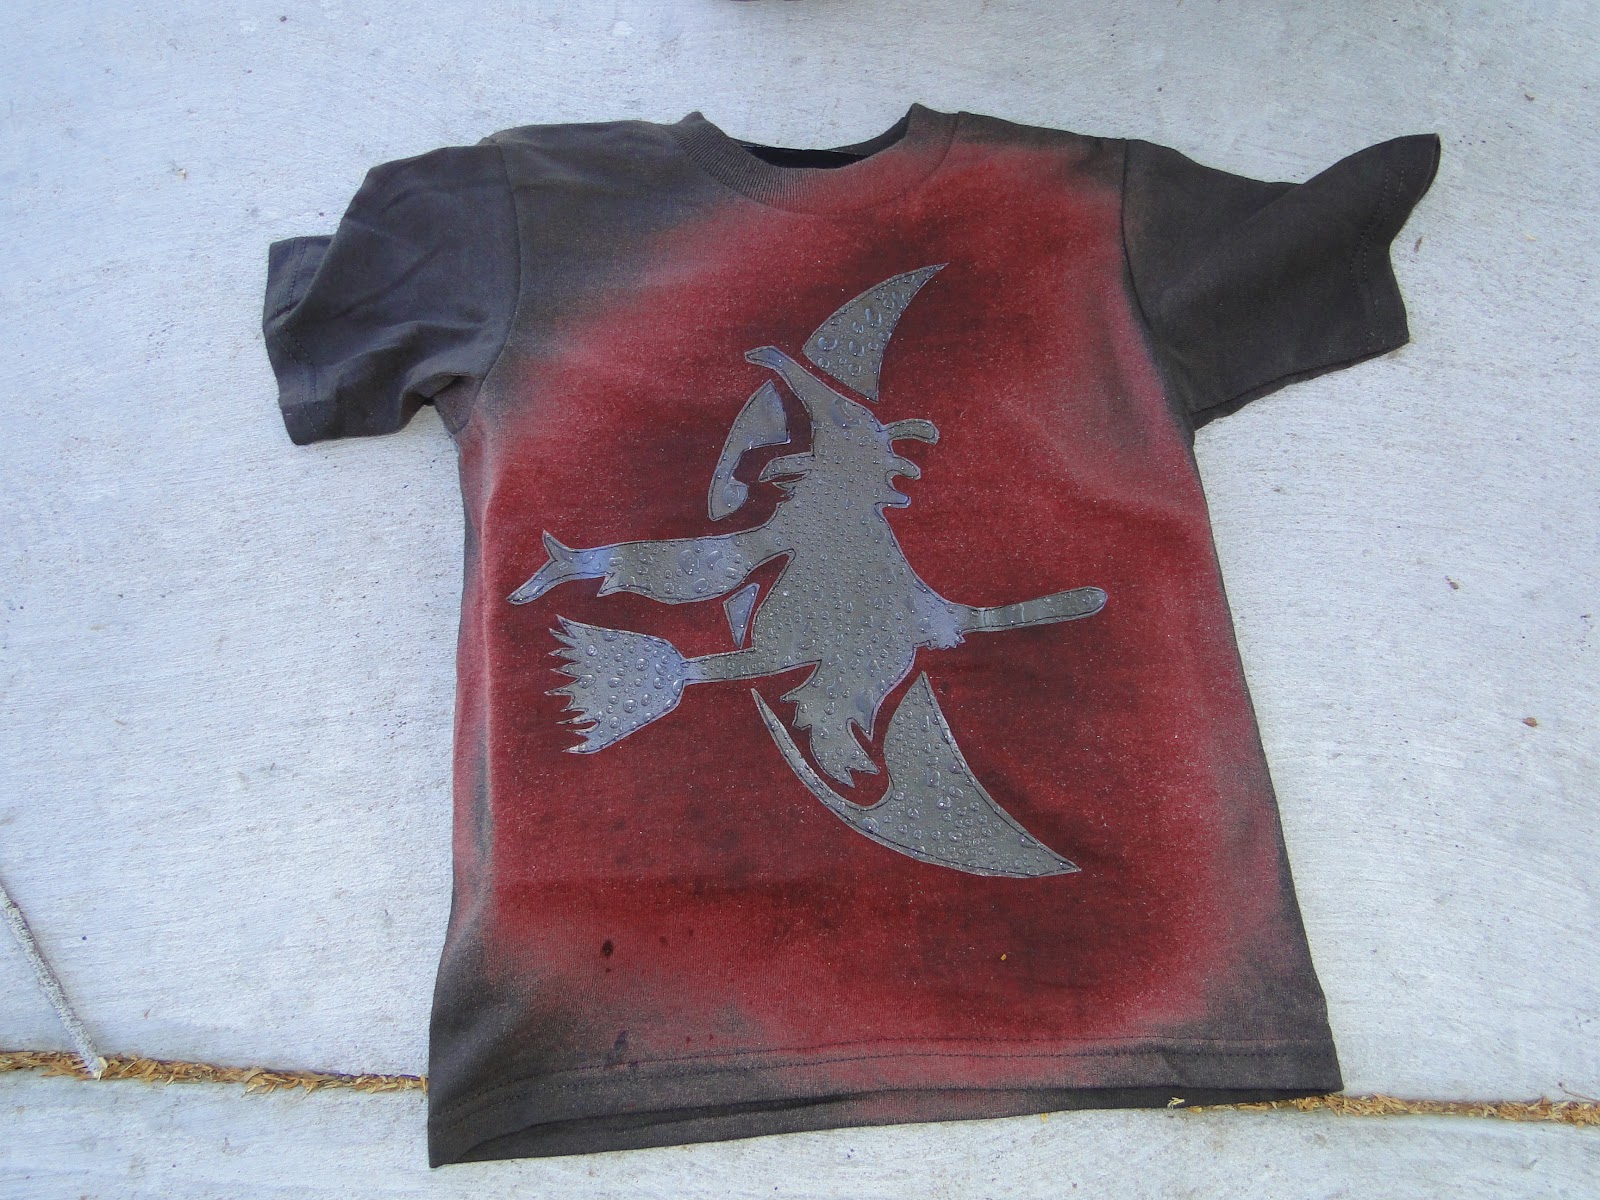
When dry or you just can't wait any more, peel the contact paper off, and reveal the silhouette. I loved how it turned out! I was too anxious and some of the droplets of bleach fell back onto the none bleached area, but it's okay the shirt still looks great.

The boys didn't really see a fun design they loved so both came up with an idea they drew out on a post-it, and then I enlarged the idea on paper, and traced and copied it onto the contact paper. Rayle went with a Vampire: evil eyes, fangs, and blood dripping down. Pretty cool!!!!

Here is Rayle t-shirt all done. I like!!!

Teagan went for cool and laid back, a monster with some shades and fangs.

I folded the tee over and that created the line, but the important part is that they love their shirts!!!

I was also able to work on a prop for our upcoming family pictures. I wanted to create a banner with our last name on it. I got some burlap at Hobby Lobby, couldn't use a coupon because I used it on the contact paper :( I didn't want to go back another day! I cut out a triangle pattern and then cut out enough pieces in burlap to make our last name plus two extra pennants on each side. Oh I wanted a little darker color than this tan, but they had this or dark brown, so I went with this color.

I used some stencils we had and painted our last name on the pennants.

I had some twine from forever ago and started stinging the pennants to make our A.W.E.S.O.M.E. banner.

Here it is done.

To sting the banner I just used my scissors to make a hole for the twine and feed it through.

Easy cheesy and we are that much closer to getting some snappy snap shots of our little family!!!


No comments:
Post a Comment